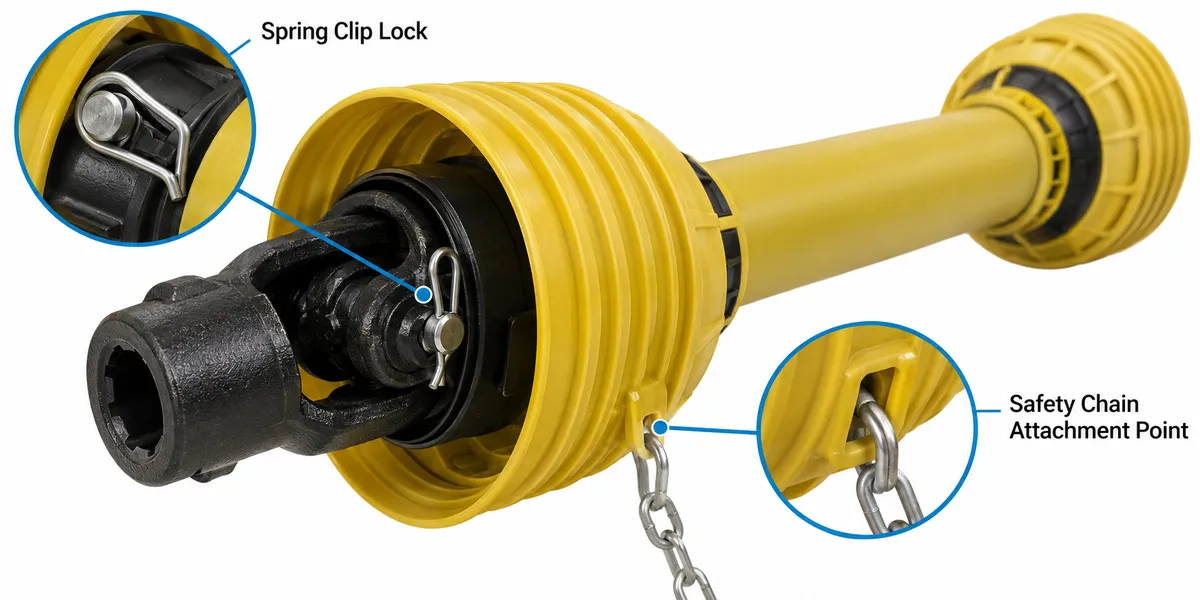
Hooking up a PTO shaft requires five steps in a specific sequence: confirm the implement is stationary with the tractor engine off, set the correct shaft length, connect the implement end first, connect the tractor end second, and anchor the safety chains at both ends. Skipping any step — particularly the safety chain anchoring — creates both a safety hazard and a condition that accelerates shaft wear. The entire procedure should take no more than five minutes.
Before You Start: Safety Checks
- ✓Engine off, PTO disengaged, all rotation stopped before approaching the shaft or implement for any reason.
- ✓Inspect the safety shield — it must be intact, with no cracks, and the plastic bearing at each end must allow the shaft to rotate inside the stationary shield.
- ✓Inspect the push-pin locking mechanism on each yoke — the pin must retract fully when pressed and spring back positively when released.
- ✓Verify the shaft series is correct for the implement torque demand before connecting.
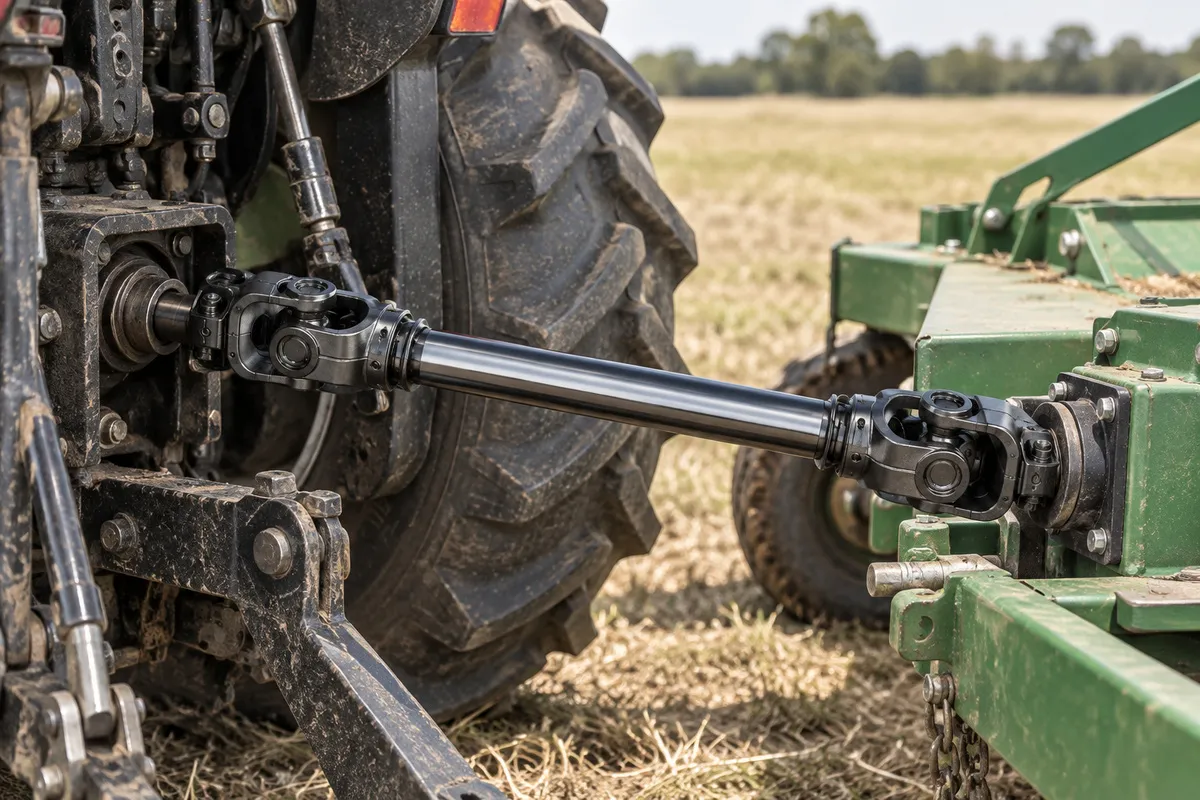
This is the reference for correct installation: shield intact, chains taut but not strained, both yoke connections audibly clicked into place.
Step 1: Set the Correct Shaft Length
With the implement connected to the tractor’s three-point hitch at normal working height, hold the shaft in the approximate installed position without connecting it. Verify that the inner tube overlaps the outer tube by at least 50 mm at this working height, and that the shaft is not fully compressed. Raise the implement to maximum height — verify that 50 mm of tube overlap still remains. Lower to minimum height — verify that the tubes do not bottom out.
If the shaft fails either check at this stage, adjust the length or order the correct stock length before proceeding. Operating with a bottomed-out or over-extended shaft causes immediate damage to the cross-kit bearings and the tractor PTO stub bearing.
Step 2: Connect the Implement End First
Always connect the implement end of the shaft before the tractor end. The implement input shaft is stationary and does not present a PTO engagement risk during connection. Press the push-pin on the implement-end yoke inward, slide the yoke fully onto the implement input shaft until the pin snaps into the groove and you feel and hear it lock. Give the yoke a firm tug — it should not slide back off.
Never Connect the Tractor End First
Connecting the tractor-end yoke first, then manipulating the shaft to reach the implement, means handling the tractor-side yoke near the PTO stub while the implement end is unsupported. This creates a risk of the shaft falling and causing injury, and makes correct chain anchoring sequence impossible.
Step 3: Connect the Tractor End
Press the push-pin on the tractor-end yoke, align the splines with the PTO stub, and push the yoke fully onto the stub until the pin engages the stub groove. You should feel and hear a positive click. Pull the yoke back firmly — it should not disengage without deliberate pin depression. If the yoke slides off without pin depression, the pin is not engaging the stub groove — check that the yoke spline profile matches the stub (Z6 or Z20) and that the stub is clean and undamaged.
Step 4: Anchor Both Safety Chains
The safety shield has a chain anchor bracket at each end. Connect the tractor-end chain to a fixed, non-rotating point on the tractor — the drawbar support, a guard bracket, or a dedicated chain anchor point. Connect the implement-end chain to a fixed, non-rotating point on the implement body — not to any rotating component or to the implement linkage arm that moves with the shaft.
The chains should be taut but not tensioned — they should prevent the shield from rotating if the plastic bearing seizes, but not restrict the shaft’s natural articulation during operation. An over-tensioned chain will crack the plastic chain anchor on the shield.
Step 5: Final Check Before PTO Engagement
- 1
Visually confirm both yoke connections are fully engaged and push-pins are locked.
- 2
Visually confirm both safety chains are attached to fixed, non-rotating points.
- 3
Manually rotate the shaft by hand through a small angle — it should turn smoothly with no binding.
- 4
Confirm the implement is clear of obstructions and all bystanders are outside the implement footprint.
- 5
Start the tractor, engage PTO at low throttle to verify smooth operation before bringing up to rated speed.
T Series and L Series PTO Shafts — Complete with Installation Guide
Every T Series and L Series shaft ships with a CE shield, safety chains, and installation instructions. MOQ 1 pc. Ships to Brazil.
Tags
how to hook up PTO shaftPTO shaft connectionPTO shaft installationconnect PTO shaftPTO shaft hook up procedure